
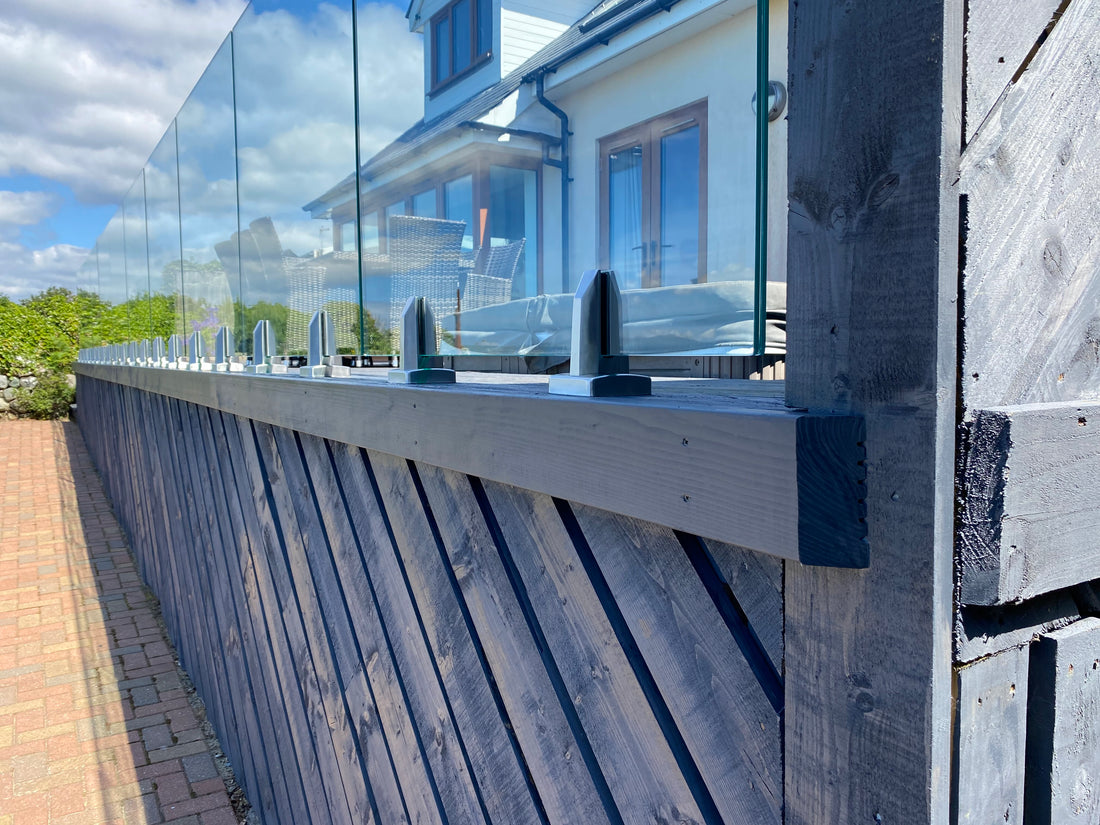
Installing a top mounted Mini Post Balustrade: A Quick and Simple Guide
Installing a Mini Post Balustrade with a base mount design can be a great way to enhance safety and aesthetics in your outdoor space. Let’s walk through the steps for a successful installation:
Read the Plan and Gather Materials:
Start by reviewing the plan provided for your Mini Post Balustrade. Ensure you have all the necessary components, including the mini posts, glass panels, fixings, cover plates, gaskets, and handrails. Double-check that everything is in order before you begin.

Mark Out the Mini-Post Centrelines:
Using the plan as a guide, mark out a straight line where you intend to install the balustrade. This line will help you position the mini posts accurately.
Delineate the centrelines for each mini post along this line.
Prepare Holes for Fixings:
Using a template (if provided), mark hole centres on the surface where you’ll be mounting the mini posts. The type of fixings you use will depend on the material (concrete, brick, or block work). If you’re unsure, contact the manufacturer for approved fixings.
Drill the holes according to the marked centres and clean them to remove any dust or debris.

Secure the Mini Posts:
Fix the mini posts into position using the appropriate fixings. Make sure they are level and aligned correctly.
Slide the cover plate over each mini post to conceal the fixings.

Insert Glass Panels:
Loosen the grub screws on the mini posts using the provided 6mm Allen key.
Align the metal inserts inside the mini posts.
Determine the correct coloured plastic inserts for your glass thickness (refer to a table provided by the manufacturer).
Carefully lift the glass panels into the mini posts, ensuring they overhang the posts by 1/4 of their width from the centre of the post.

Repeat this process for all glass panels, leaving the required gaps between them.
Align and Secure the Glass:
Tighten the grub screws on the front of the mini posts using the Allen key. The bottom screw adjusts the glass inward, while the top screw adjusts it outward.
Use a spirit level to confirm that the glass panels are aligned properly. Don’t overtighten the grub screws.

Install Gaskets and Handrails:
Position the gasket onto the top edge of the glass. You can use tape to hold it in place. Apply lubricant (washing up liquid works well) to the top of the gasket.
Gently tap down the handrail over the gasket (use a rubber mallet if needed).
If you have wall brackets and elbows, secure them into position before installing the handrails.
Final Touches:
Clean the glass panels using the provided cleaning kit.
Step back and admire your new balustrade!
Remember, safety is crucial during installation. If you encounter any challenges or have specific questions, don’t hesitate to consult the manufacturer’s instructions or seek professional assistance. Enjoy your stylish and secure Mini Post Balustrade!


